
How I DIYed My Wedding and Engagement Shoot Makeup
I DIYed my wedding and engagement shoot makeup and wanted to share the full product list that helped me achieve my ~lEwK~! This post has been sitting in my drafts for a while now, so all you brides having imminent microweddings, thank you for your patience and giving me the kick in the butt I needed to finally publish this!
As I’ve said over and over again on this blog, I don’t know much about makeup at all and everything I know was gleaned from the many many YouTube tutorials I watched in preparation for this DIY. Take that as encouragement that if I could figure it out, so can you!
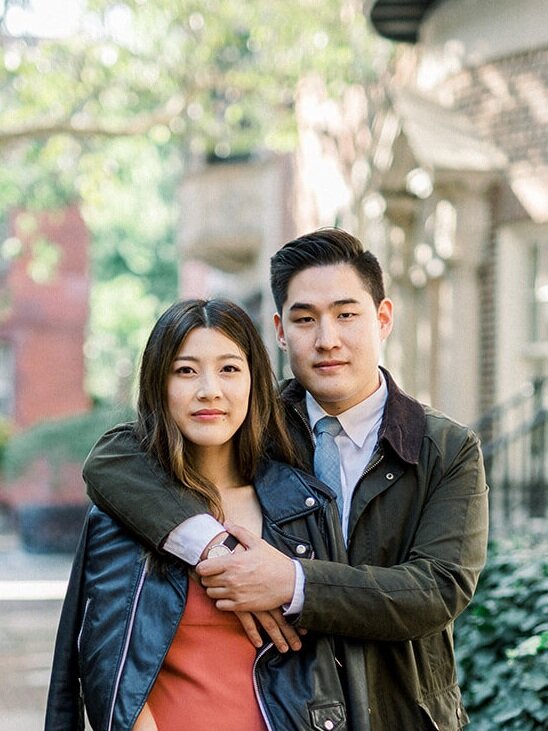
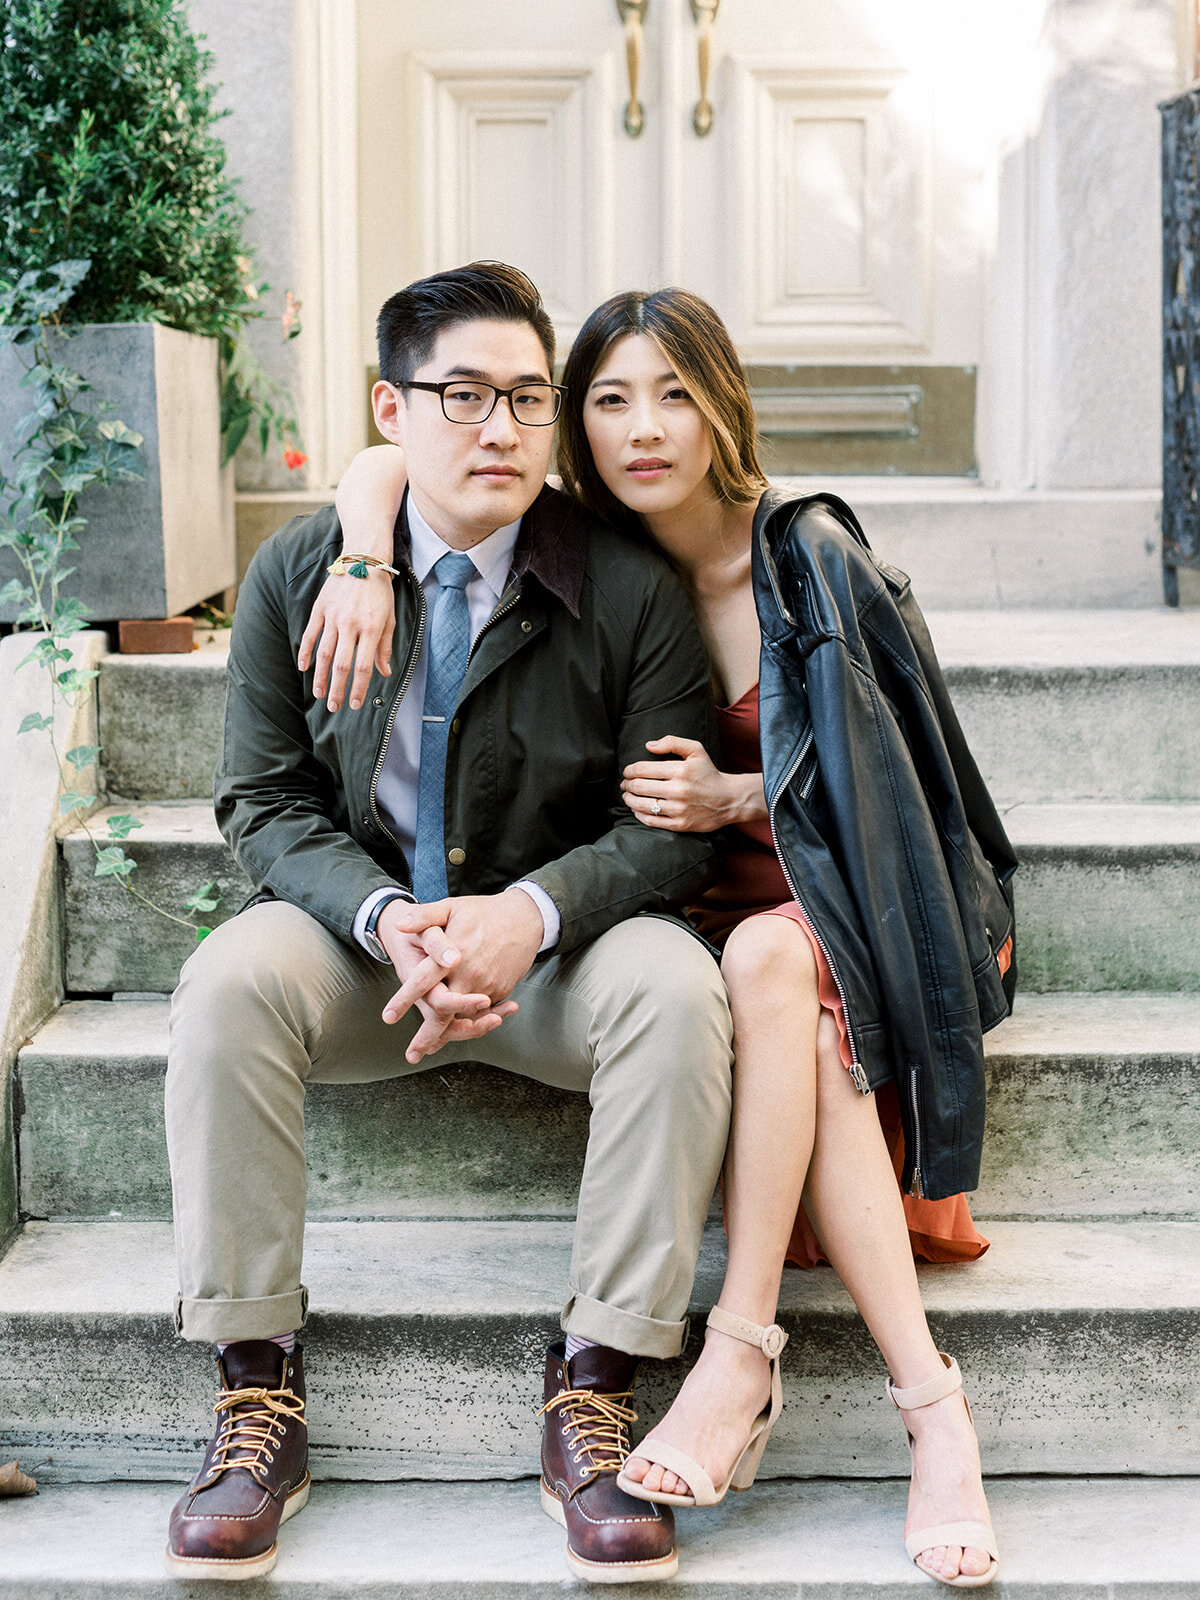
I treated the engagement shoot as a practice run for my wedding day-of makeup (which I also DIYed), so I could get a better sense of exactly how much makeup I need to wear for it to show up in photos. Being a makeup minimalist, I remember doing a trial run on myself where I felt like I had caked on the makeup only to look completely washed out in photos. If you are a minimalist like me, I would recommend pushing yourself out of your comfort zone and going bolder on the blush, eyeshadow, highlighter, brows—really everything but your foundation—if you want your makeup to show up in photos!
All photos by the best du soleil photographie <3


OUTFIT DETAILS FOR ETTIE
OUTFIT DETAILS FOR L
Luke got his midnight blue tux from The Black Tux. Accessories are linked below.
I am sharing photos from both my wedding and engagement shoot, but I used the same products in both— the only difference being my lash situation. I applied my own falsies for the engagement but got them done professionally for my wedding.


Engagement shoot outfits are linked on this post.
GET THE ~LEWK~
STEP ONE — PRIMER
Very very important so your makeup lasts through all the precipitation you will find on your face throughout the day.
STEP TWO — EYES
Thanks to my falsies I only had to worry about eyeshadow. I applied eyeshadow primer first then went in with various shades from two palettes, incorporating various rosy tones then topping it off with some shimmer. I learned everything I know about how to apply multi-dimensional yet natural looking eyeshadow from this YouTube tutorial and highly recommend it. It’s in Korean but has English subtitles.
STEP THREE — FOUNDATION & CONCEALER
Something else I learned from YouTube — apply foundation and concealer after you’re done with your eye makeup so you don’t have to worry about cleaning up residue from the eyeshadow/etc off your face. My foundation shade is Deauville, and concealer shade is Custard. I mixed a small dab of highlighter into the foundation for an overall glow.
STEP FOUR — BROWS
I wanted to add a little bit of fullness to my brows but still keep them looking natural (didn’t want to look like I slapped two strips of seaweed on my face if you know what I meannn), so I used a brow wand and a leetle bit of brow shadow. Pro tip: Don’t forget to apply primer on your brow hairs to keep them looking fresh all day and night.
STEP FIVE — CHEEKS
I have pretty high cheekbones, so I applied the blush in a “C” shape from just under my temple down to my cheekbone.
STEP SIX — HIGHLIGHTER
Y’all go in on that highlighter, especially if you want that fresh-faced, dewy LeWk~
Full disclosure I used BECCA Cosmetics liquid highlighter in moonstone but it looks like they have since discontinued that product. I linked the powder version of it below. I also linked another liquid highlighter that I’ve replaced my BECCA with and have been loving.
STEP SEVEN — LIPS
The night before, I used a lip sleeping mask because my lips (just like the rest of my skin) dries out very easily. In the morning, I applied a lip treatment then a tinted lip balm. True story! No lipstick. I made sure to keep it in my pocket (yes my dress had pockets) and reapply whenever I could.
STEP EIGHT — SETTING SPRAY
Seal it up with a setting spray. I used and love this one because it isn’t too mattifying. Also, pack yourself a small emergency kit to freshen up your makeup throughout the day during your very few and far between bathroom breaks.


FOLLOW ALONG @ETTIEKIM

Hello, I’m Ettie, a graphic designer based in Philadelphia, PA. Welcome to my blog!